AI Background Changer
GPT Image 2.6 Flare ·
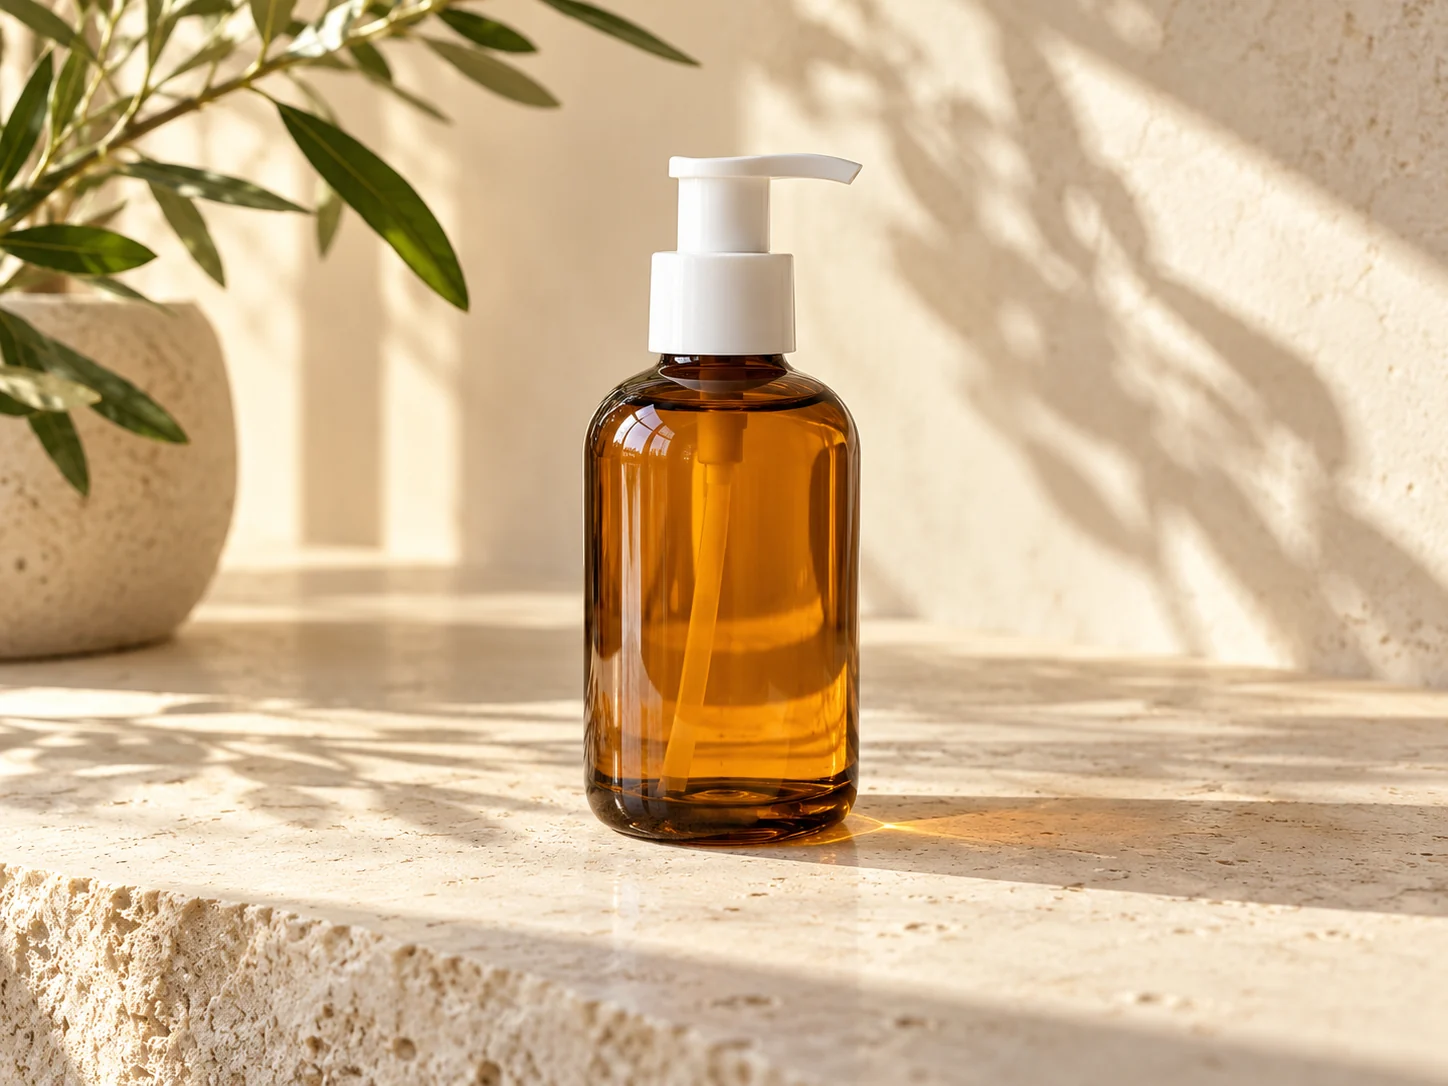
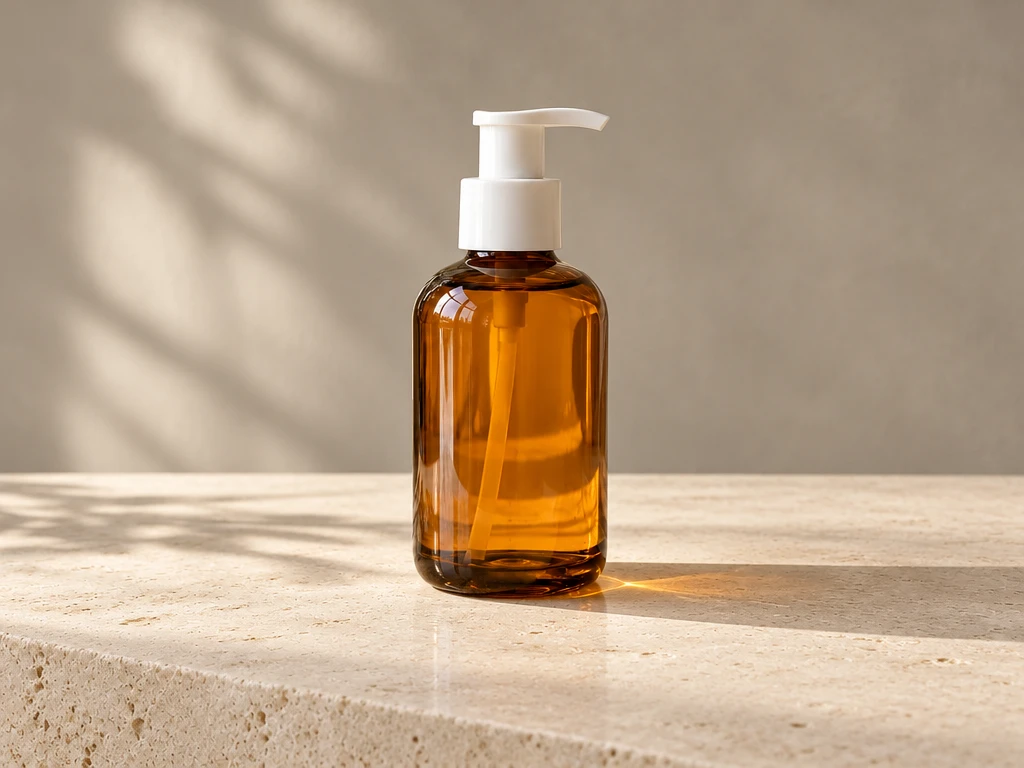
Replace the background with a pale stone tabletop and a warm grey studio wall. Keep the product shape, label and camera angle unchanged. Add a natural contact shadow.
Learn how to describe a photo edit, name what must stay unchanged, and review the result. Try prompts for backgrounds, object removal, lighting and film style.
Name the change, locate it, then say what to preserve. Make one edit at a time. Replace the example details with objects actually present in your photo.
Start creatingActual model edits of sample images. The English prompts shown are the exact instructions used. Results vary; compare details before using them.
GPT Image 2.6 Flare ·
Replace the background with a pale stone tabletop and a warm grey studio wall. Keep the product shape, label and camera angle unchanged. Add a natural contact shadow.
GPT Image 2.6 Flare ·
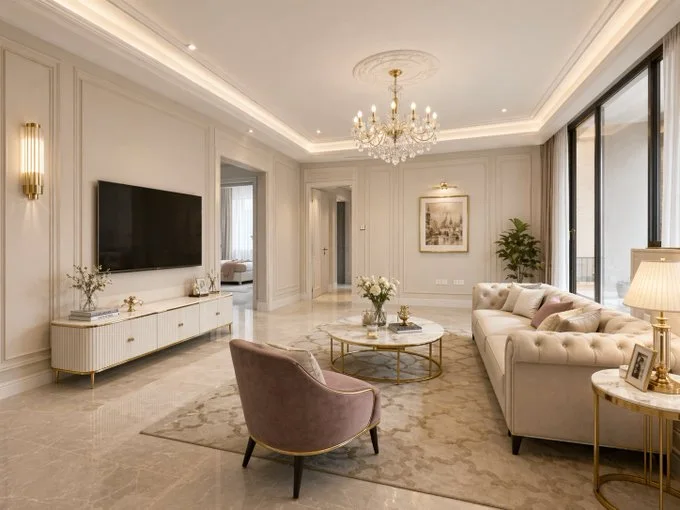
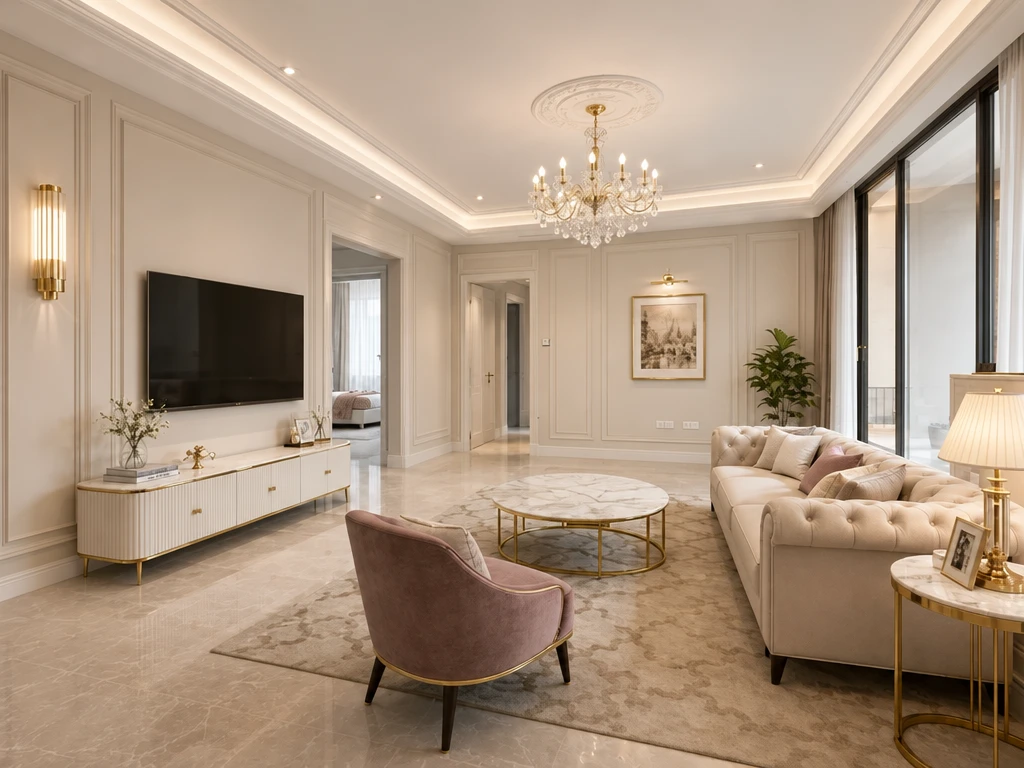
Remove the small decorative object on the coffee table. Reconstruct the tabletop texture and keep the furniture, room layout and lighting unchanged.
This result cleared all objects from the coffee table, including the flowers. The removal extended beyond the small ornament requested.

GPT Image 2.6 Flare ·
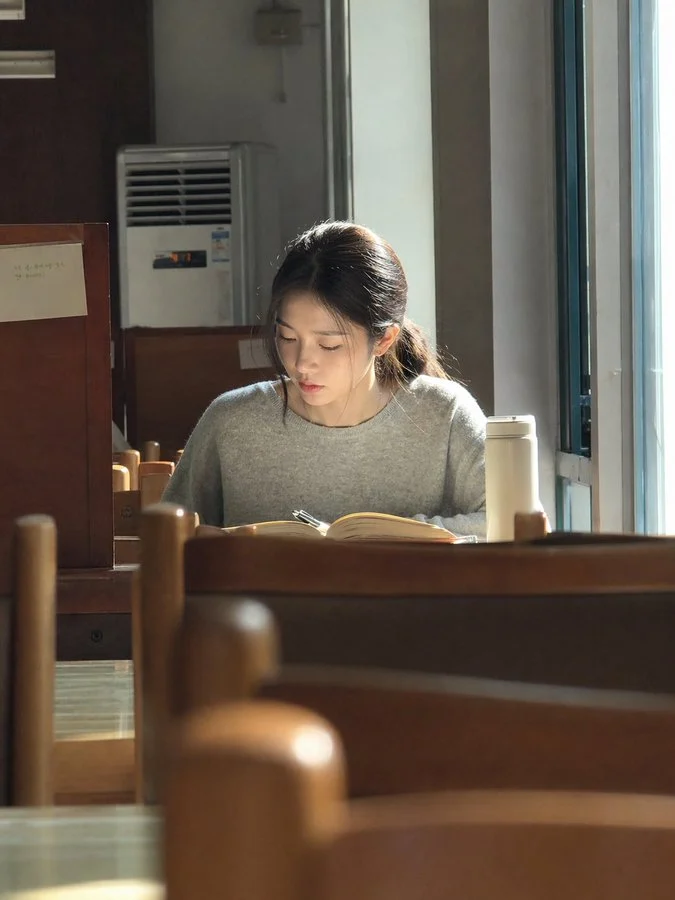
Change the lighting to soft daylight from a window on the left. Keep the person’s identity, pose, clothes and background unchanged. Keep natural skin texture.
The lighting changed, but the model also added a window on the left despite the instruction to preserve the background.
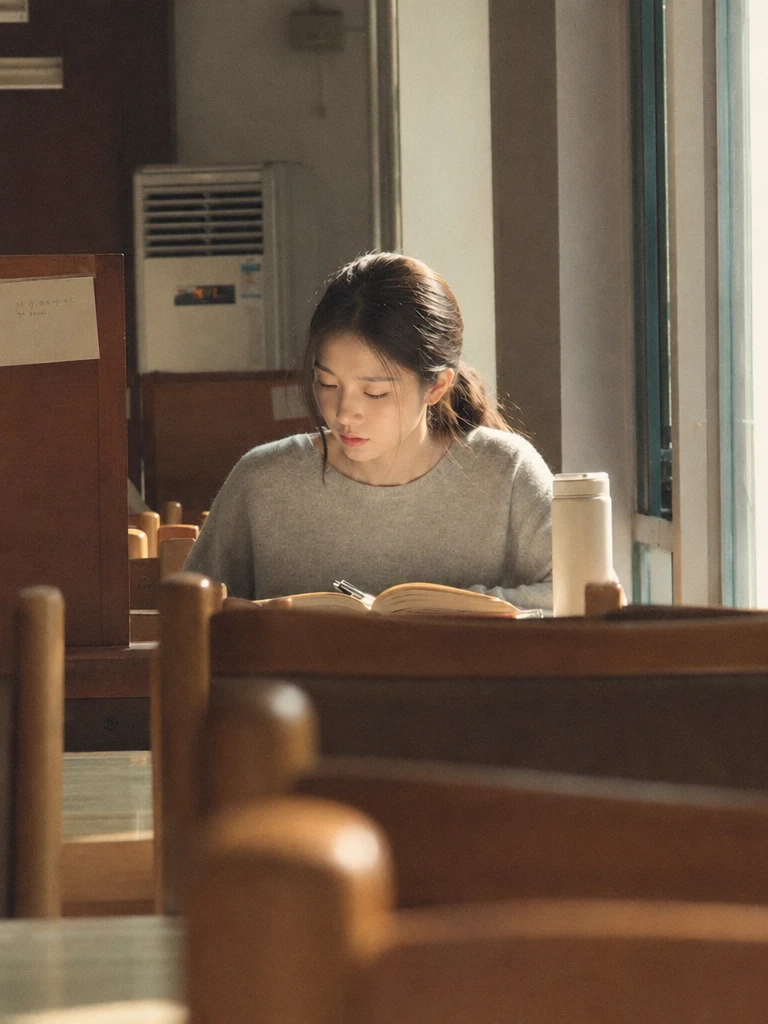
GPT Image 2.6 Flare ·
Give this photo a subtle 35mm film look with fine grain, soft contrast and muted warm colors. Keep the person, framing and background unchanged.
Sign in to upload an image you own or are allowed to edit. Select a file, drop it into the workspace, or try a sample.
Name the change, locate it, then say what to preserve. Make one edit at a time. Replace the example details with objects actually present in your photo. Credits appear automatically when your inputs are ready. Review the cost, then select Create to generate.
Compare the result with the original at full size. Check faces, text, product labels, edges and shadows. AI may change details you asked to preserve; refine the instruction if needed. Each new generation has its own credit cost.
Name the change, locate it, then say what to preserve. Make one edit at a time. Replace the example details with objects actually present in your photo.
Replace the background with a pale stone tabletop and a warm grey studio wall. Keep the product shape, label and camera angle unchanged. Add a natural contact shadow.
Remove the small decorative object on the coffee table. Reconstruct the tabletop texture and keep the furniture, room layout and lighting unchanged.
Change the lighting to soft daylight from a window on the left. Keep the person’s identity, pose, clothes and background unchanged. Keep natural skin texture.
Give this photo a subtle 35mm film look with fine grain, soft contrast and muted warm colors. Keep the person, framing and background unchanged.
Loading…
Credits appear automatically when your inputs are ready. Review the cost, then select Create to generate. Pricing
Use a clear request such as “make the background warmer, keep the product label unchanged.” Smaller, specific changes are easier to review.
This page uses reference images and text instructions. It does not offer a brush or mask control; describe the area and the intended change in the prompt.
Sign in before uploading a reference image or running image analysis. If you select a file as a visitor, its name can be kept for reselection after sign-in; the file is not uploaded automatically.
Use JPG, PNG or WEBP images. The uploader checks file type, size and the current image-count limit before sending files. Any failed check is shown in the workspace.
Credits appear automatically when your inputs are ready. Review the cost, then select Create to generate.
Actual model edits of sample images. The English prompts shown are the exact instructions used. Results vary; compare details before using them.
Compare the result with the original at full size. Check faces, text, product labels, edges and shadows. AI may change details you asked to preserve; refine the instruction if needed. Each new generation has its own credit cost.
Start creating